Stock Overview
Note: Only unblinded personnel will be able to access the following page, since the page reveals unblinding information about the products.
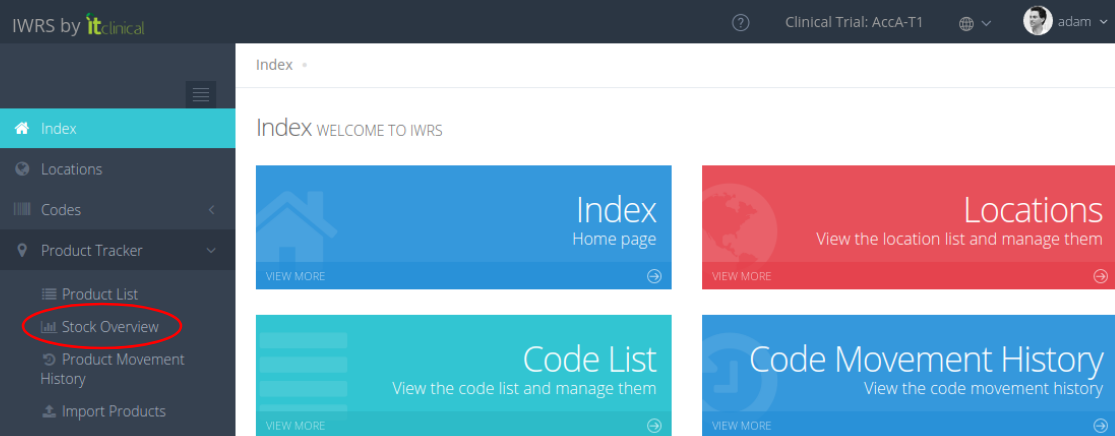
1. Access Stock Overview
An unblinded user may access Stock Overview page by selecting the option by the same name in the IWRS sidebar under Product Tracker.
2. Stock Overview Graphic
In the Stock Overview page the user can see Stock Overview graphic.
By default, the graphic will show the stock quantities for each product type in the sites the user is associated with.

1. Selecting the highlighted option 1 in the image, the user may select to show locations associated with the user of other location types.
For this example the user selects the location type Regional Distributor.

2. Selecting one of the colors preceded by the product types in highlighted option 2, the user will toggle on/off which product types will be shown in the graphic.
For this example the user toggles off the product type Placebo, showing only Active and Test.

3. Selecting the columns in the graphic, like the highlighted option 3, the user will automatically be shown the Quantities Details table, filtered by the location of the selected column.
For this example the user selects location AT1.C2, which has the following result:

3. Quantities Details Table
Below the Stock Overview graphic the user can see Quantities Details table.
By default, the table will show the information for each location the user is associated with:
- The quantity of stock at location of each product type.
- The quantity of incoming stock for the location of each product type. Incoming stock counts products in movements with status Waiting and In Transit.
- The quantity of outgoing stock from the location of each product type. Outgoing stock counts products in movements with status In Transit.

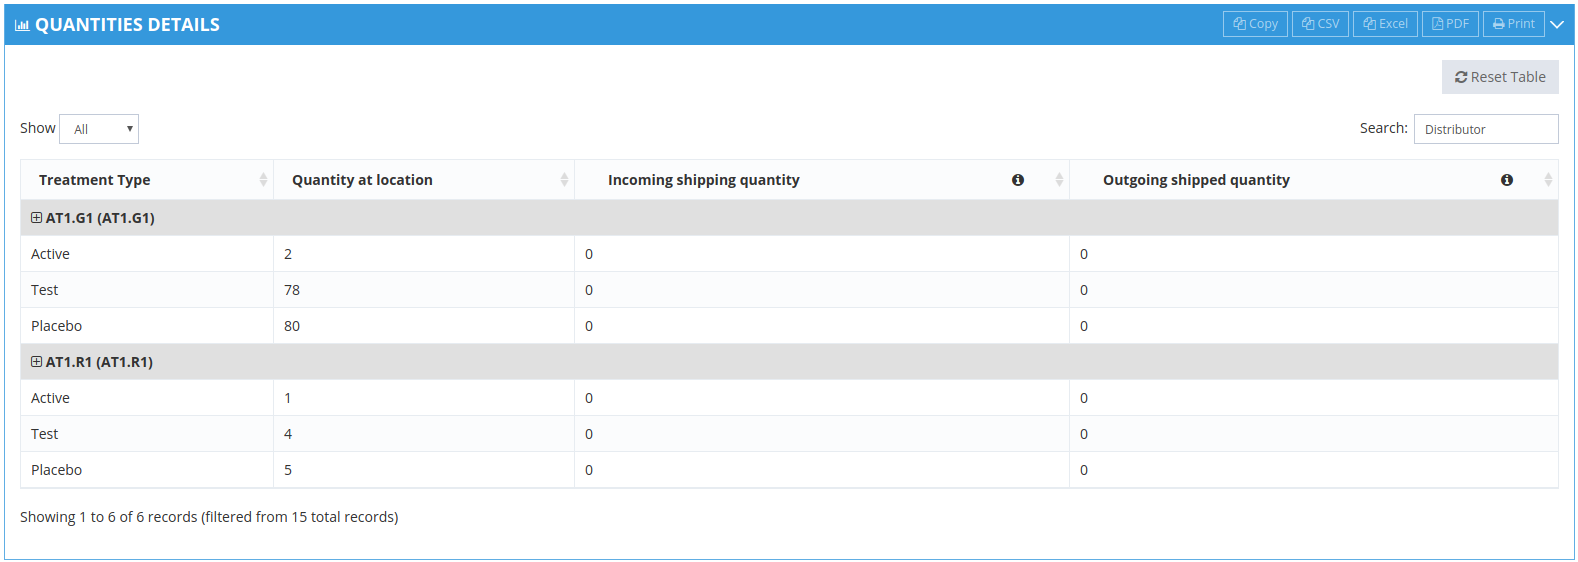
1. Selecting the highlighted option 1 in the image, the user may filter the table by any search value.
For this example the user will search for Distributor, which will show all location associated with the user which have location type Distributor.
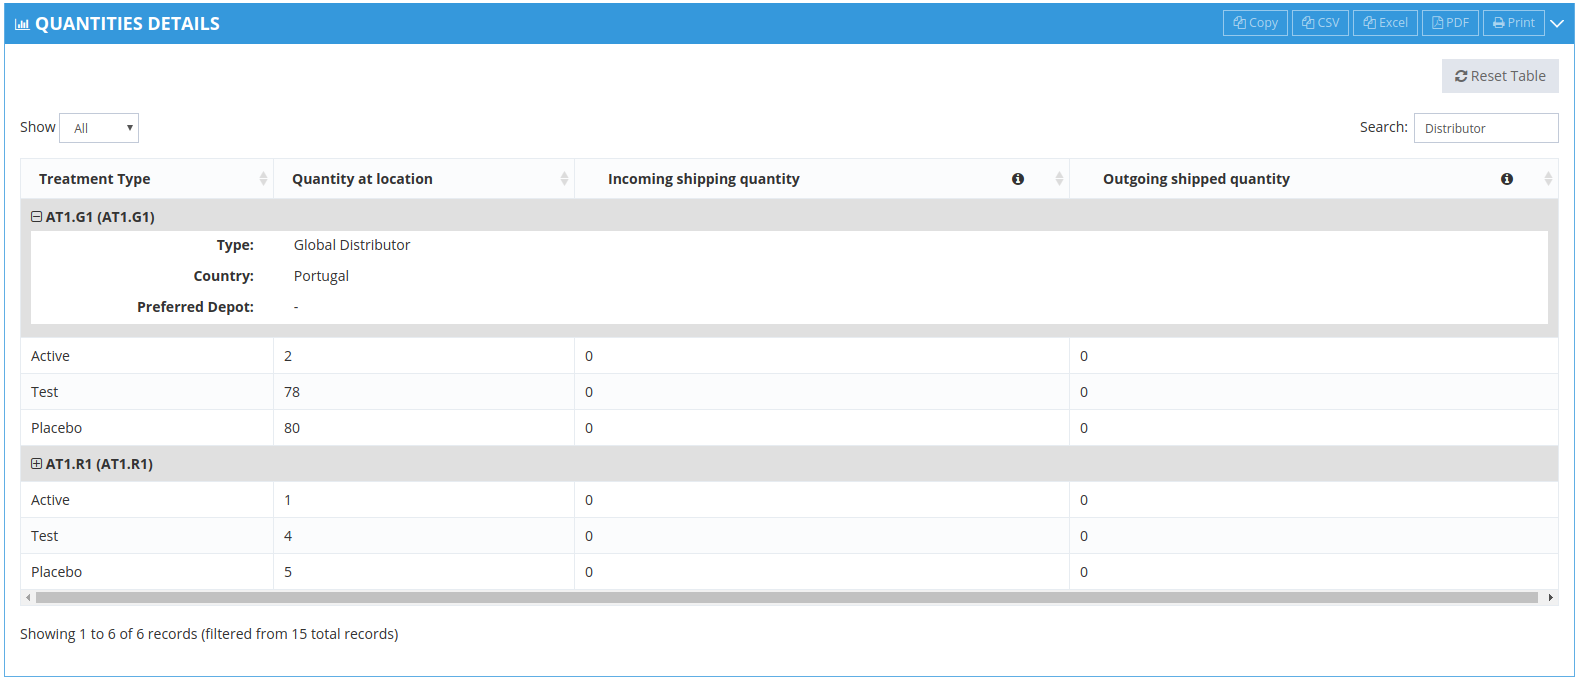
2. Selecting the plus icon in highlighted option 2, the table will show more details about the selected location.
For this example the user will select location AT1.G1, which will show the location type, country and preferred depot.
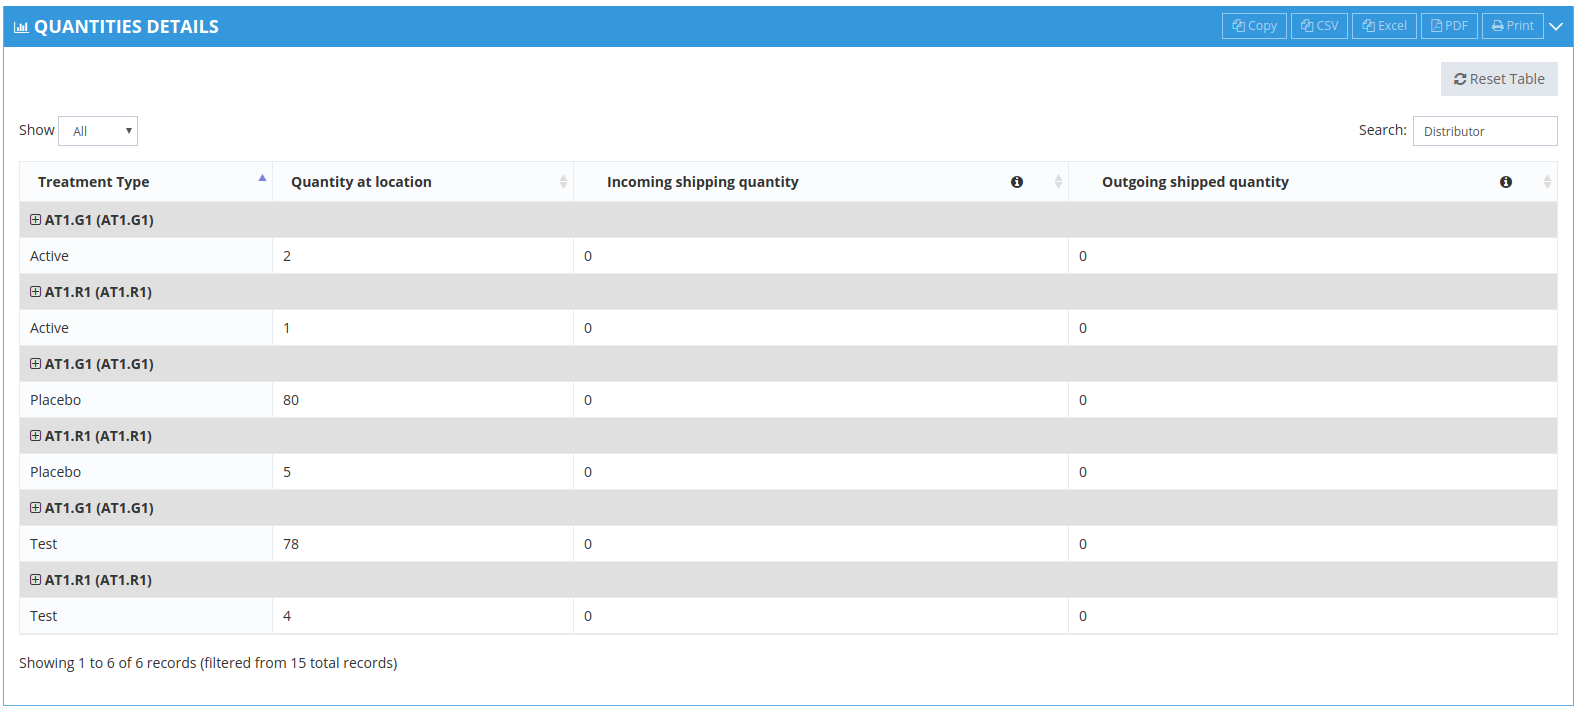
3. Selecting the sorting icon in highlighted option 3, the table will sort the entries by the chosen column.
For this example the user will select to sort all entries by treatment type.
4. Selecting the Reset Table button in highlighted option 4, the table will be reset to its default state.
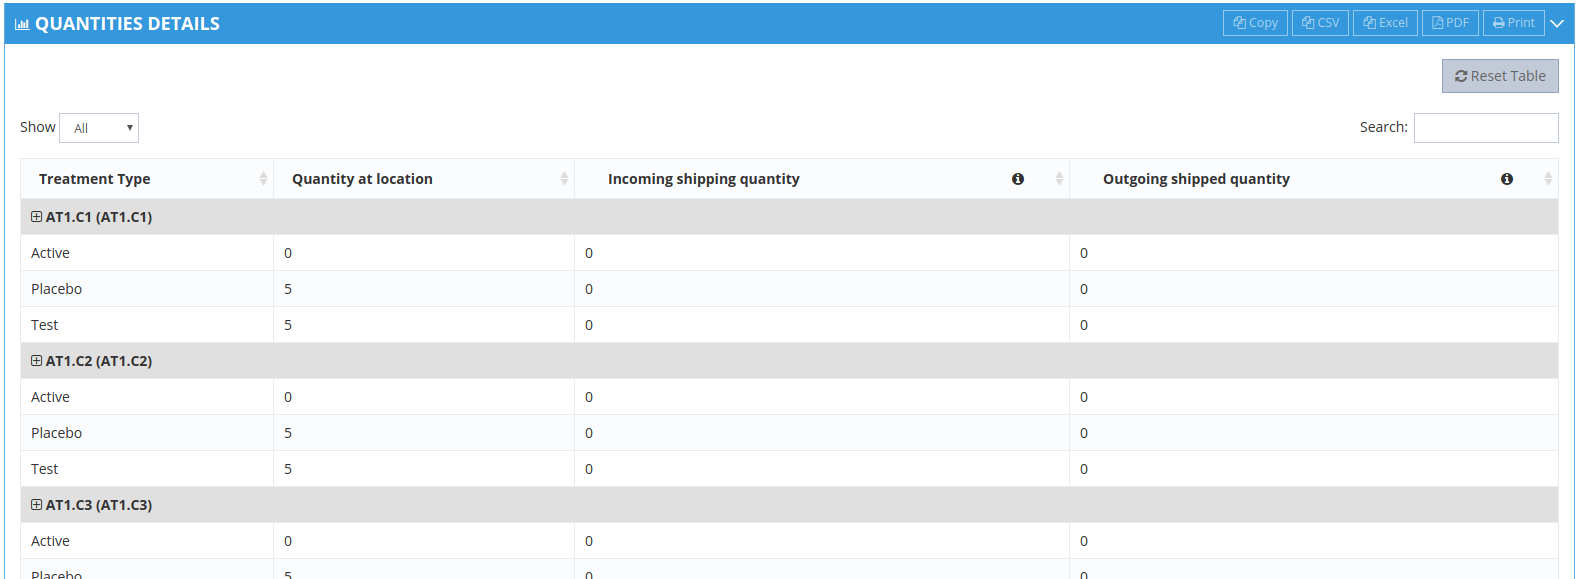
5. Selecting one of the buttons in the highlighted option 5, the table will be exported in the chosen format.
Related Articles
Trial Settings - Stock Management Configuration
1. How to see the Stock Management configuration Only users with certain permissions can see the stock management configurations. The Stock Management configuration page includes information regarding: Predictive Stock Resupply: Short and Long ...Workflow Summary
1. Workflow Summary In this article we show a general diagram of how stock management works:Supply Schemes
1. What is stock resupply? Stock resupply is an optional feature which allows to send a warning notification when the stock is low at a location. In addition, a stock resupply shipment can be automatically and/or manually initiated (depending on ...How to configure a location for Automatic Shipment Initiation
1. Steps for the configuration of Automatic Shipment Initiation It is assumed that the trial is configured for automatic shipments. To correctly use this feature, the following steps must be followed: 1. Select a location from the Locations list by ...Automatic Shipment Initiation
1. Stock Resupply - Automatic Shipment Initiation Stock resupply is useful if you want shipments to be automatically initiated in order to avoid running out of products. The location needs to have a depot and a supply scheme with a resupply trigger ...