Step 2 - Cancel, Confirm and Edit Shipment
1. Cancel Shipment
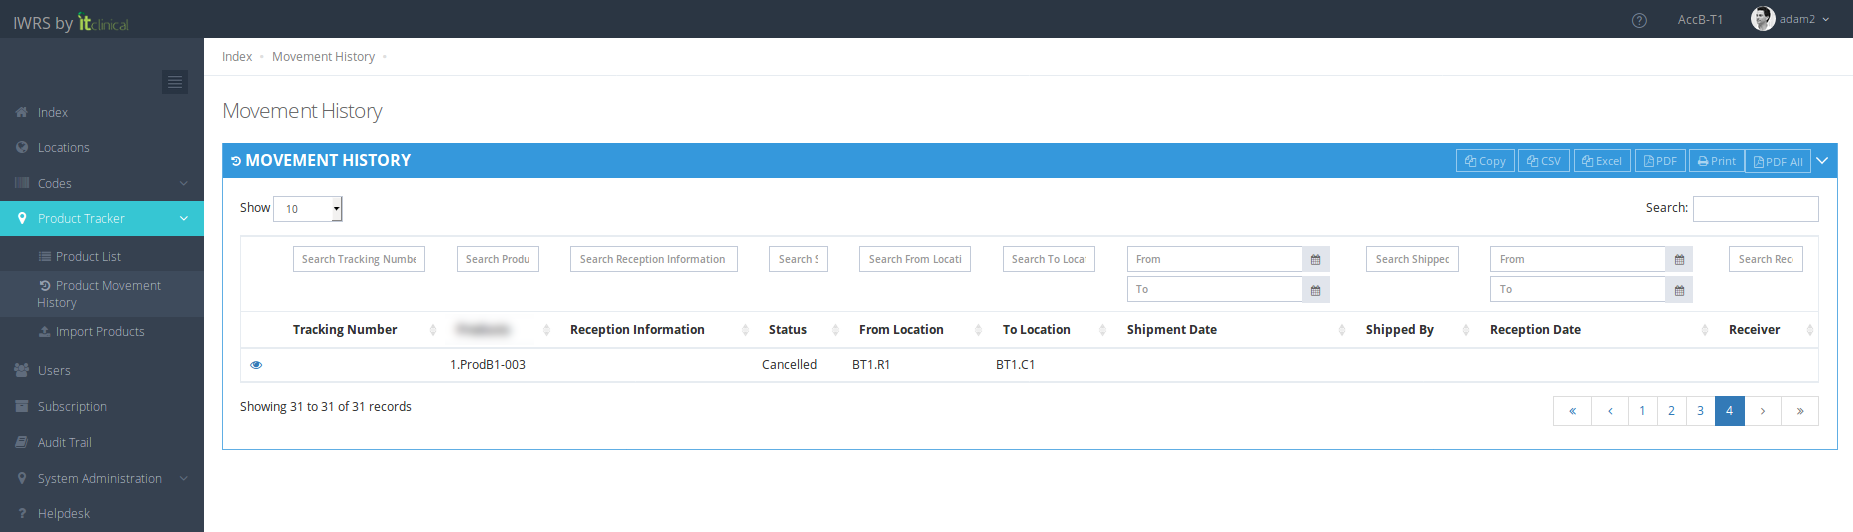
When in "Waiting" status, shipments can be canceled. If you cancel the shipment, products will be left in the origin location and the Shipment Status will be "Cancelled".
2. Confirm Shipment
After initiating a shipment the shipment needs to be confirmed.
1. To confirm the shipment go to Product Movement History page (available under Product Tracker in menu or in Welcome page).
2. The newly initiated shipment status will be "Waiting".
3. To enter the shipment details click on the details button (eye icon).

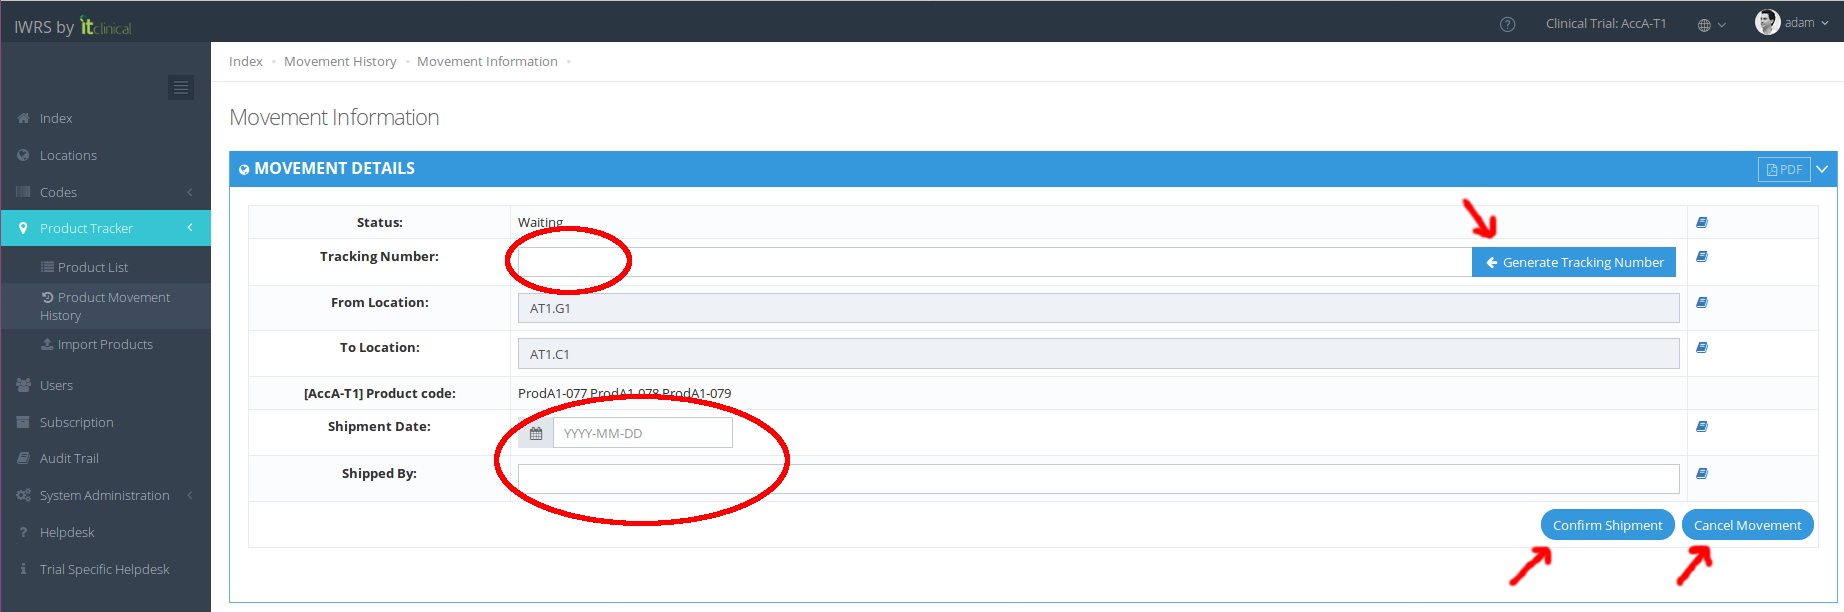
4. To confirm shipment you need to insert the "Shipment Date" and the person who confirmed the shipment "Shipped by".
5. In case the tracking number is empty, you can manually insert it or click to automatically generate it.
6. Confirm the shipment by clicking on "Confirm Shipment".
Note: Shipment can be cancelled by clicking on "Cancel Movement" (listed products will become available for a new shipment). After "Confirm Shipment" the Cancel option will no longer be available.
7. After confirming shipment, the Movement Status will change to "In Transit".
8. To learn how to confirm reception of products, see Confirm Product Reception section.

3. Edit Shipment Information
"In Transit" movements can be edited.
1. Go to the movement details (already explained in previous steps).
2. Tracking Number, Shipment Date and Shipped By are editable fields. Perform the changes you want on those fields.
3. Click "Edit Shipment".

To learn more regarding Automatically generated Tracking Number, please refer to the following article: Automatically generated Tracking Number
Related Articles
Step 3 - Confirm Product Reception
1. How to perform product reception Assuming that a product shipment was initiated and then confirmed: 1. Go to Product Movement History page (available under Product Tracker menu or in Welcome Page). 2. Click shipment details button corresponding to ...How to edit and delete a location
Note: Check also article How to create a location to learn how to create a location. 1. Edit a location 1. Go to the location's details (see step 1. of How to configure a location for the creation of automatic movements). 2. You can edit any location ...How to configure a location for Automatic Shipment Initiation
1. Steps for the configuration of Automatic Shipment Initiation It is assumed that the trial is configured for automatic shipments. To correctly use this feature, the following steps must be followed: 1. Select a location from the Locations list by ...Edit Details
1. Edit Details 1. Hover your mouse over your username at the top right corner of the page and click on My Details. 2. After changing your Full name and/or Email click Edit to save changes. 2. Change password 1.Click on the Change password tab in My ...Predictive Shipment
1. What is Predictive Shipment For trials configured with Scheduled Visits, it is now possible to activate predictive shipment. Taking into account upcoming subject visits, automatic resupply will consider the number of products needed for future ...